

LinkedIn is full of useful data. From high-profile leads and skilled employee candidates to huge job listings and business opportunities.
All this information can be accessed by hand as it’s made publicly available for all users and non-users. But what if we want to access this data on a larger scale?
Today, we want to show you how you can harness the power of web scraping to pull data from LinkedIn job listings.
Is It Legal to Scrape LinkedIn Data?
Yes, scraping LinkedIn pages is legal, as shown in the 2019 LinkedIn vs. HiQ case. However, LinkedIn has appealed the decision to the US Supreme Court (SCOTUS) without getting any response back – as far as we know. Until we hear back from SCOTUS, “the decision by the 9th Circuit remains good law.”
We’ll keep an eye on this case and update this article as soon as anything changes – and we recommend you do the same.
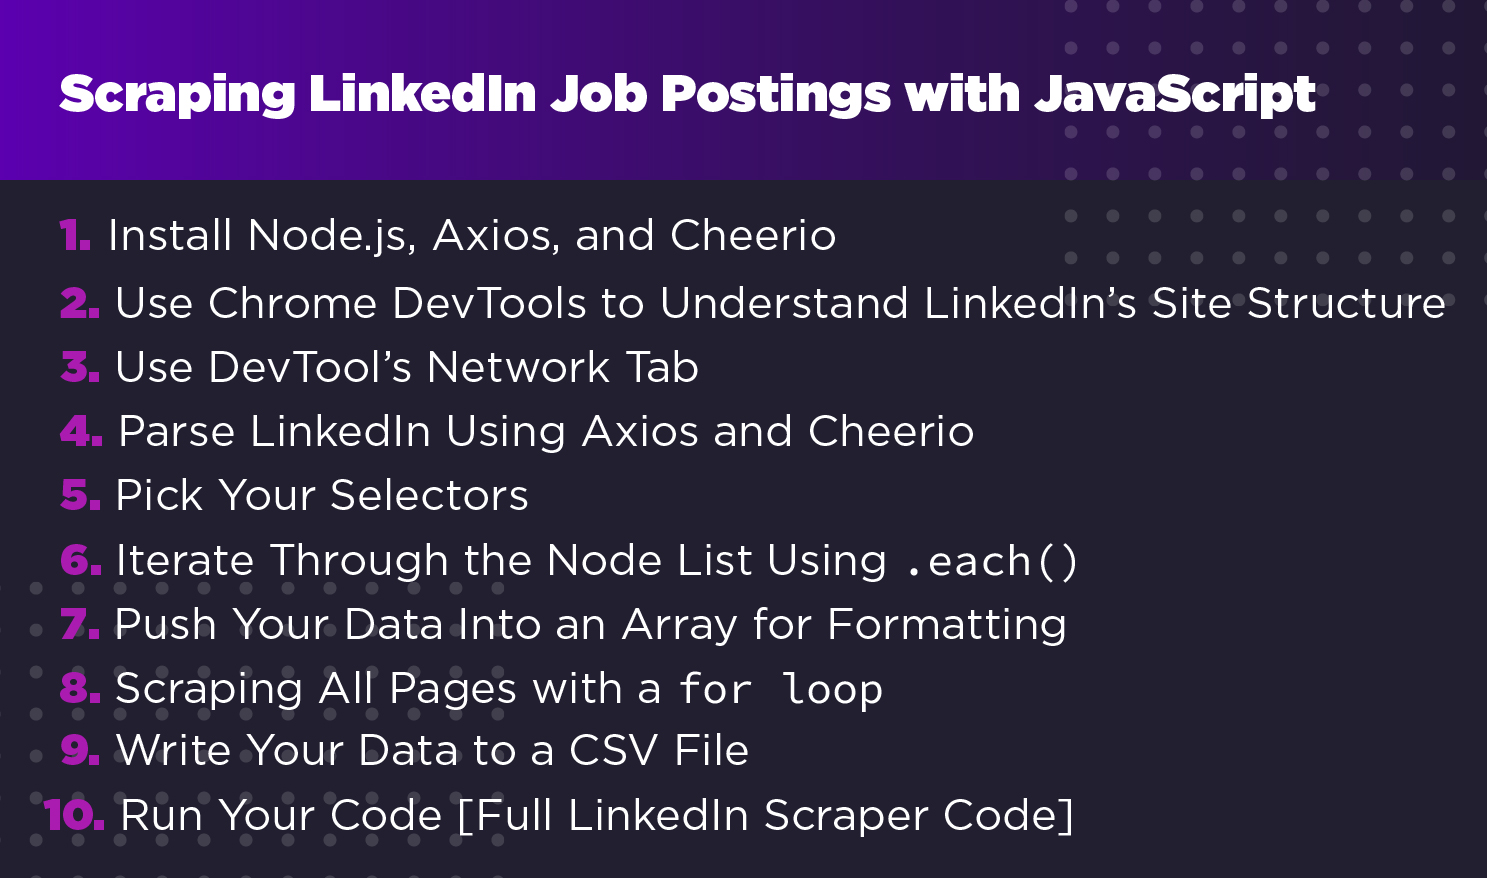
Scraping LinkedIn Job Postings with JavaScript
Although scraping LinkedIn is legal, we clearly understand LinkedIn itself doesn’t want to be scraped, so we want to be respectful when building our bot.
One thing we’ll avoid on this project is using a headless browser to login into an account and access what would be considered private data. Instead, we’ll focus on scraping public LinkedIn data that doesn’t require us to trespass any login screen.
We’ll go into LinkedIn public job listing page and use Axios and Cheerio to download and parse the HTML to extract the job title, company, location, and URL of the listing.
1. Install Node.js, Axios, and Cheerio
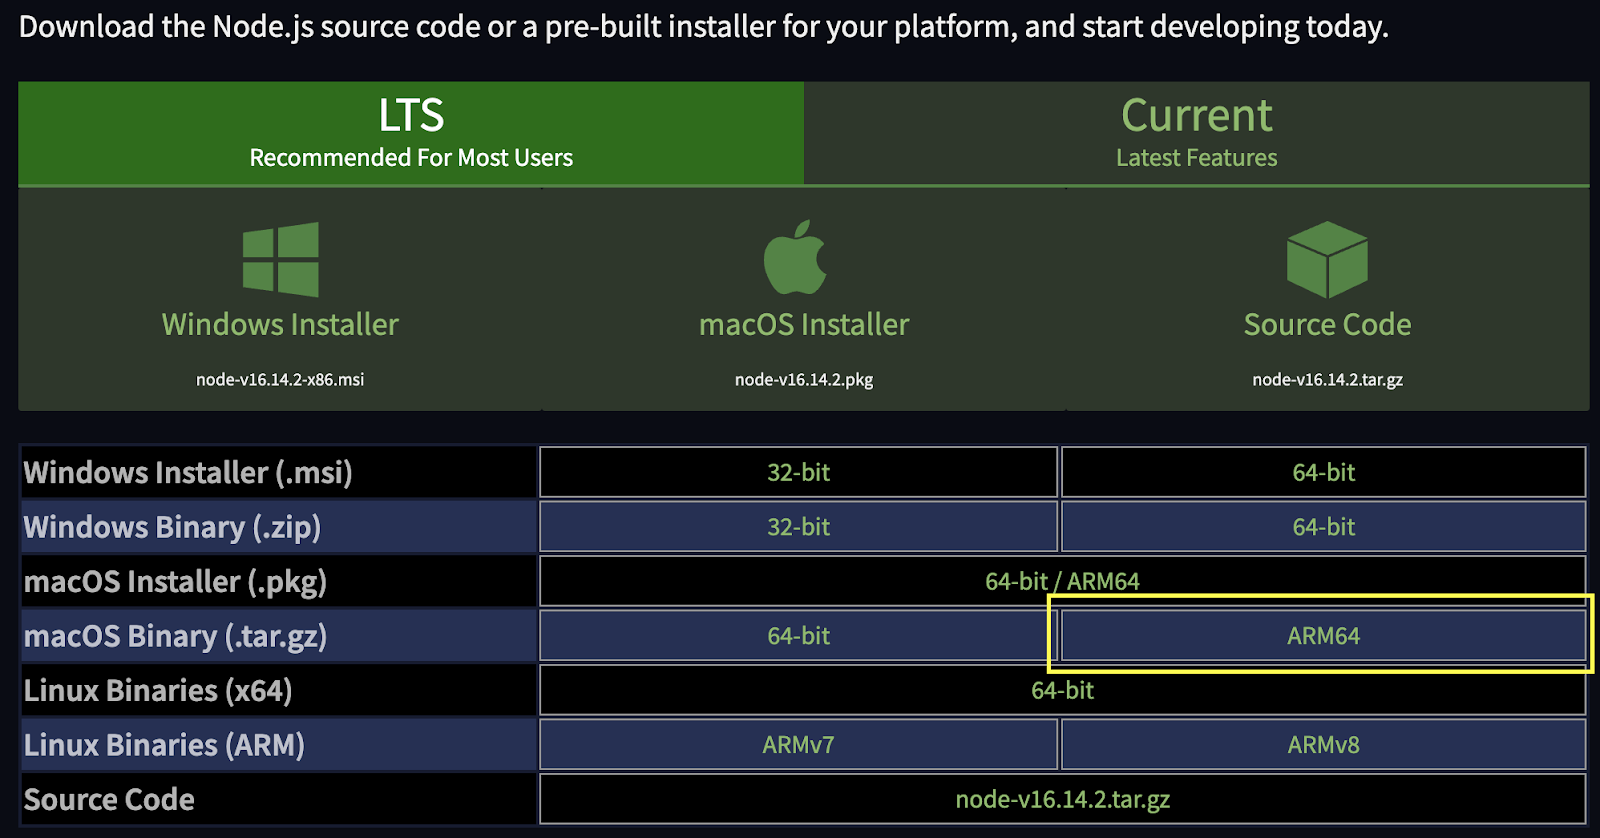
If you haven’t already, you’ll need to download and install Node.js and NPM. The latter will help us install the rest of our dependencies. Because we’re building our project on an M1 Mac, we picked the ARM64 version.
After installing those, let’s create a folder for our project called “linkedin-scraper-project” and open it on VScode (or your editor of preference). Pull up the terminal and create a new project using npm init -y.
Note: If you want to verify if the installation went well, you can use node -v and npm -v.
We’re now ready to install our dependencies using the following commands:
- Axios:
npm install axios - Cheerio:
npm install cheerio
Or we could install both with one command: npm install axios cheerio.
To get the ball rolling, inside our folder let’s create an index.js file and import our dependencies at the top:
</p>
const axios = require('axios');
const cheerio = require('cheerio');
<p>
2. Use Chrome DevTools to Understand LinkedIn’s Site Structure
Before writing anything else, we need to build a plan on how we’ll access the data. To do so, we’ll open https://www.linkedin.com/ on our browser and see what we get.
Note: If you’re logged in automatically, first sign out from your account and then move to LikedIn’s homepage to follow along.

LinkedIn immediately provides us with a search form we can use to access the exact job we’re looking for and narrow our search to a location. Let’s look for email developer jobs as an example.
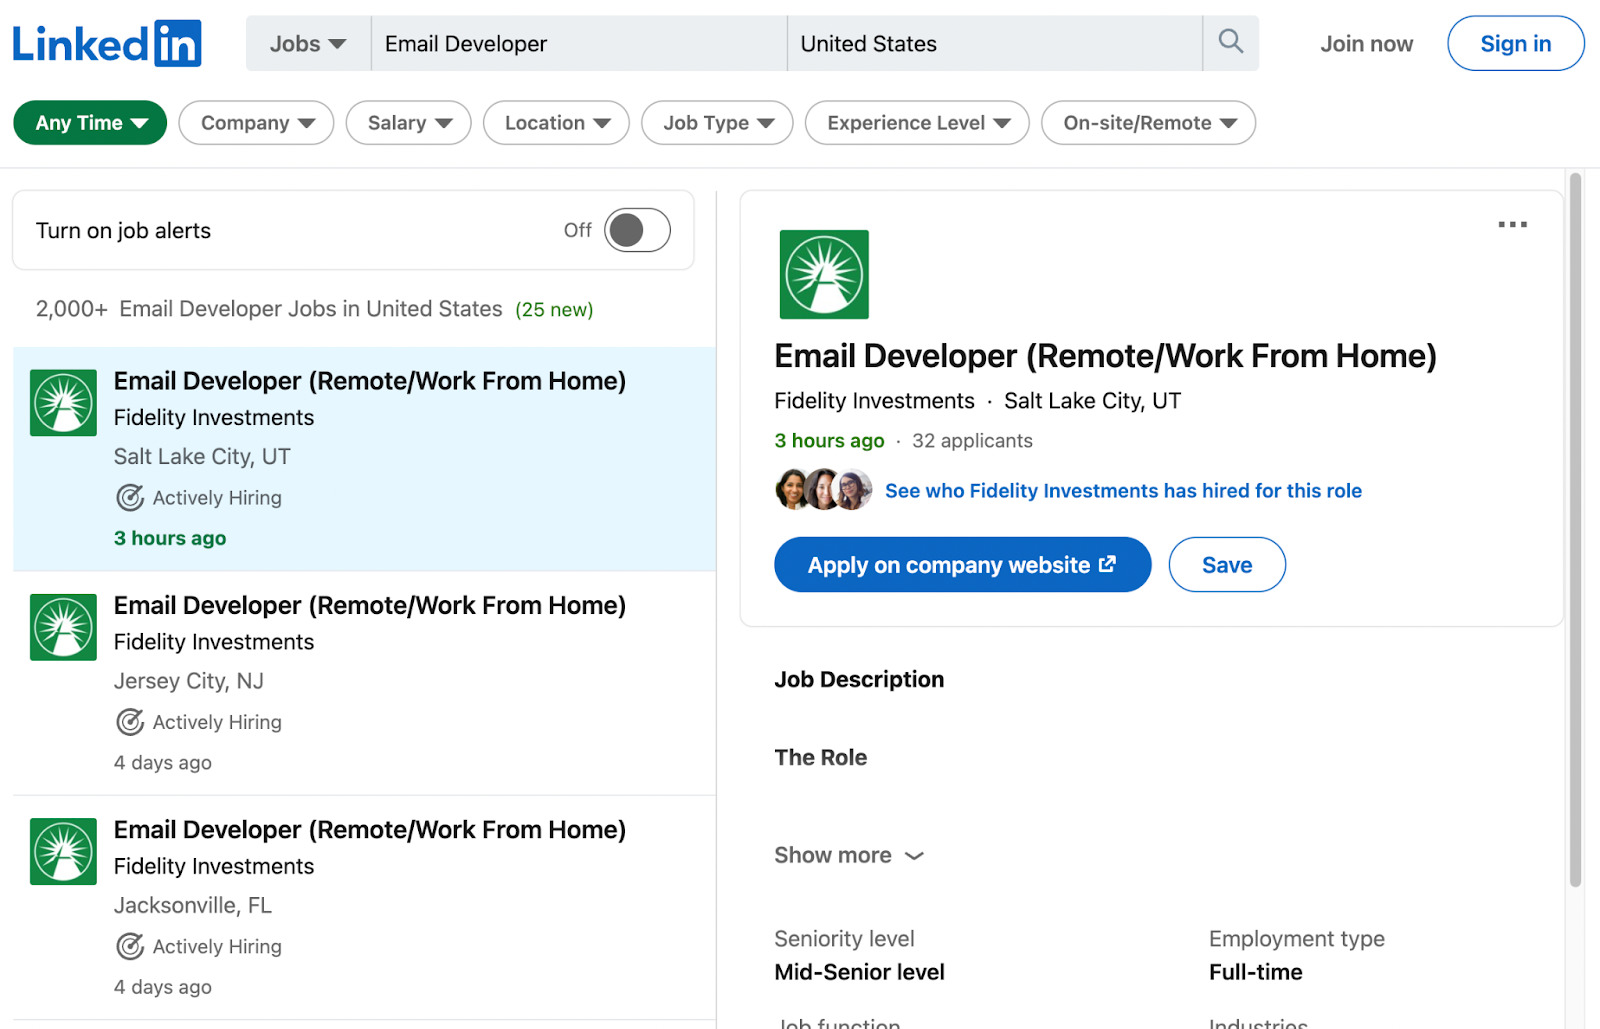
At first glance, every job seems to be inside a self-contained card we should be able to target to extract all the information we need.
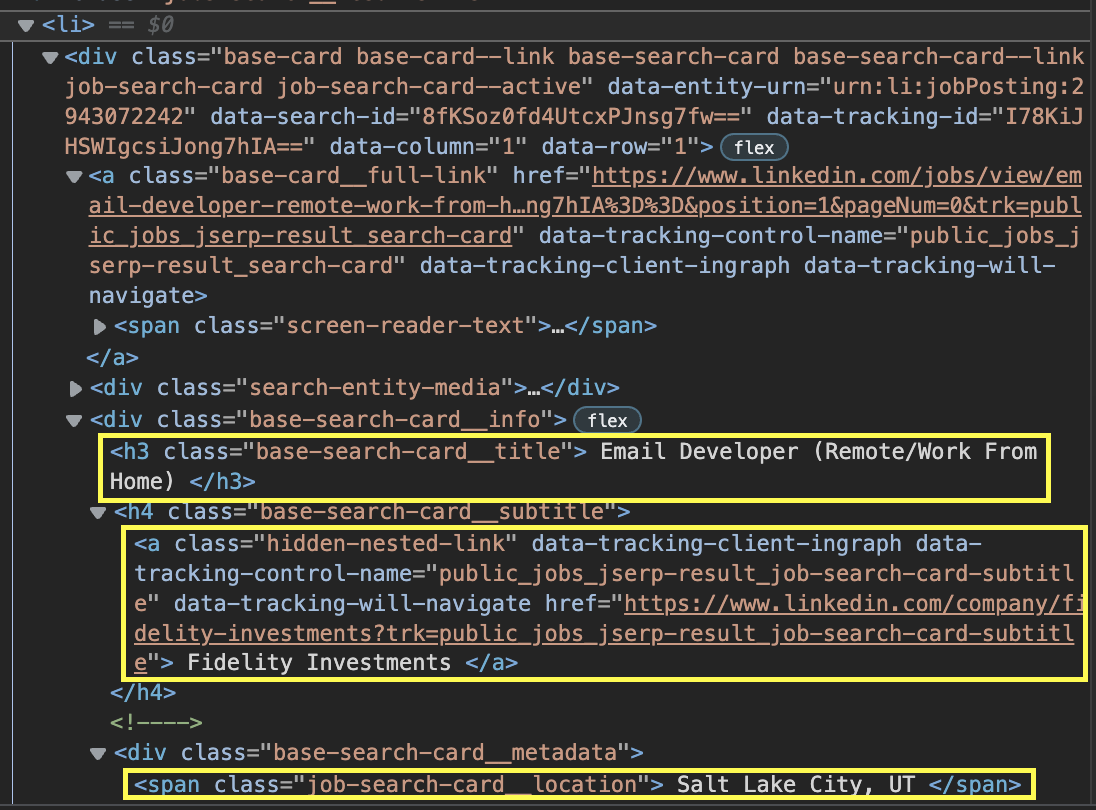
After inspecting the page, we can confirm that every job is inside a <li> element:

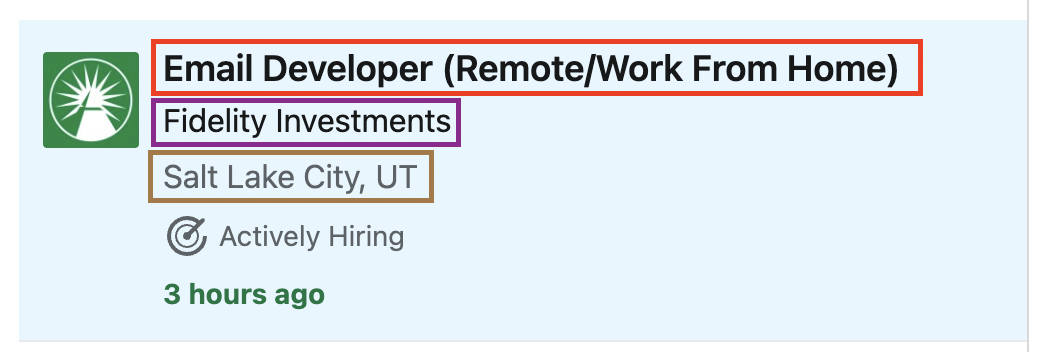
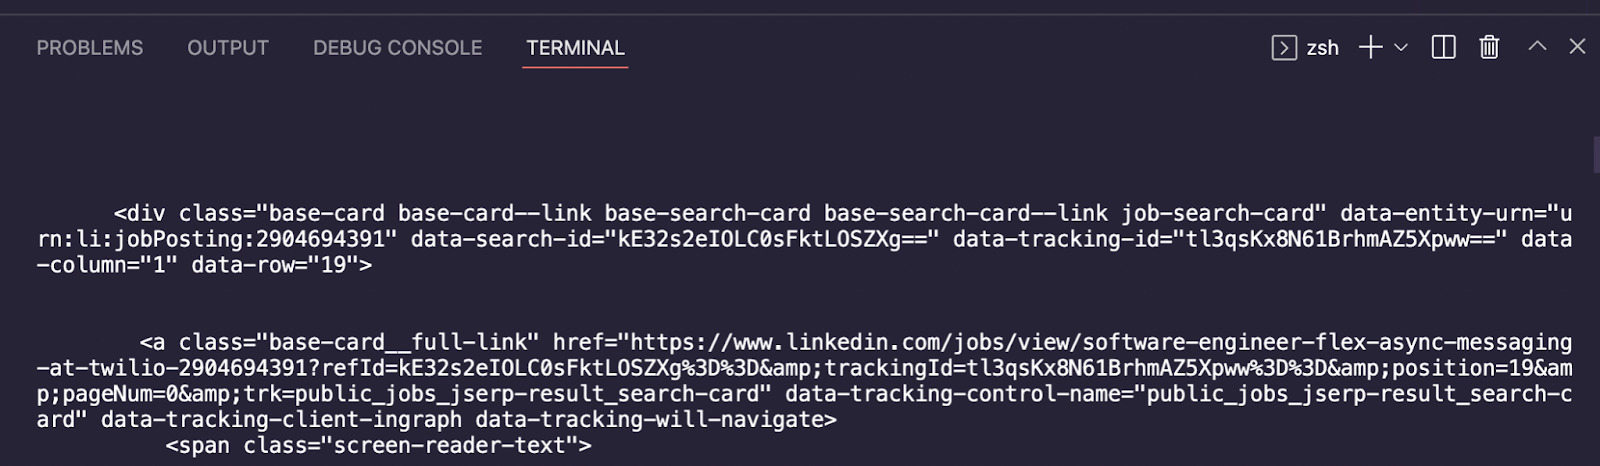
If we take a closer look at the <li> element, we can find the job title, company name, location, and the URL of the listing. Everything is well organized and with a clear structure we can follow.
However, there’s a catch. After going down the page, it turns out LinkedIn is using infinite scrolling to populate the page with more jobs instead of the traditional numbered pagination.
To deal with infinite pagination, we could use a headless browser like Puppeteer to scrape the first batch of jobs, scroll down the page, wait for more jobs to load, and scrape the new listings.
But if you paid attention to this tutorial’s heading, we’re not going to use a headless browser. Instead, let’s try to be smarter than the page.
3. Use DevTool’s Network Tab
One thing to have in mind when dealing with infinite scrolling paginations is that the new data needs to come from somewhere. So if we can access the source, we can access the data.
With the DevTools open, go to the Network tab and reload the page:
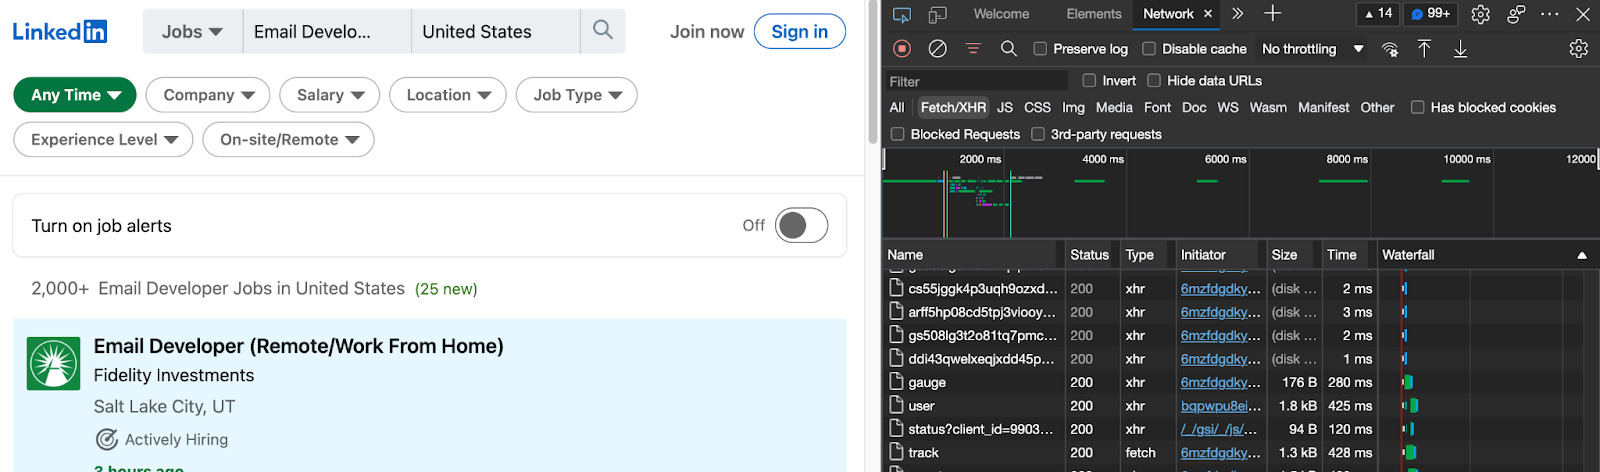
We’ll now see all the different requests the website is making. We’ll focus on the Fetch/XHR requests mainly because this is where we’ll see the new data pull.
After scrolling down to the last job, the page sends a new request to get the data to the URL in the screenshot below. If we mimic this request, we’ll get access to the same data.
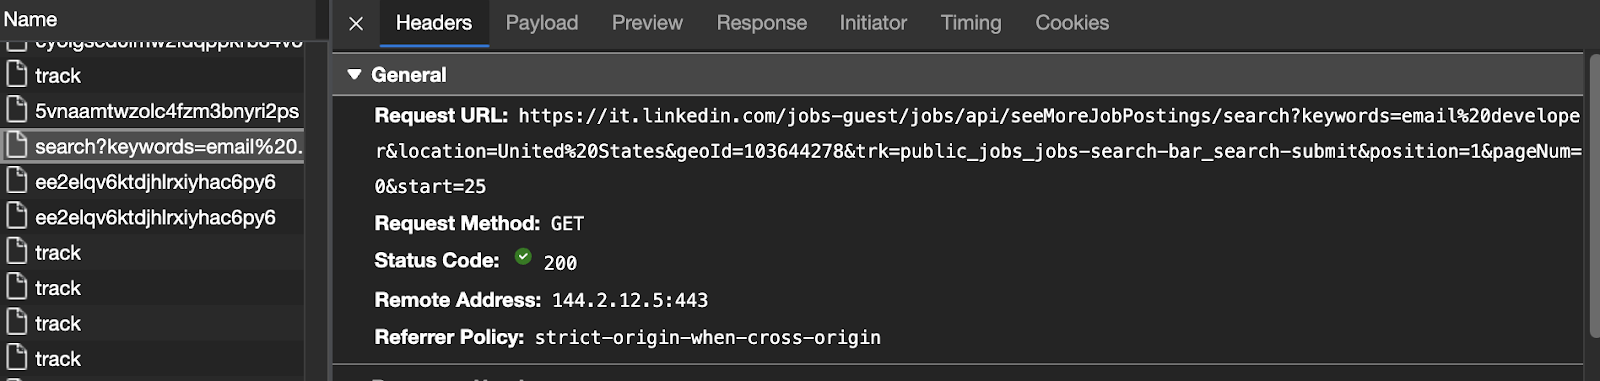
Let’s test it on our browser by copying and pasting the URL.
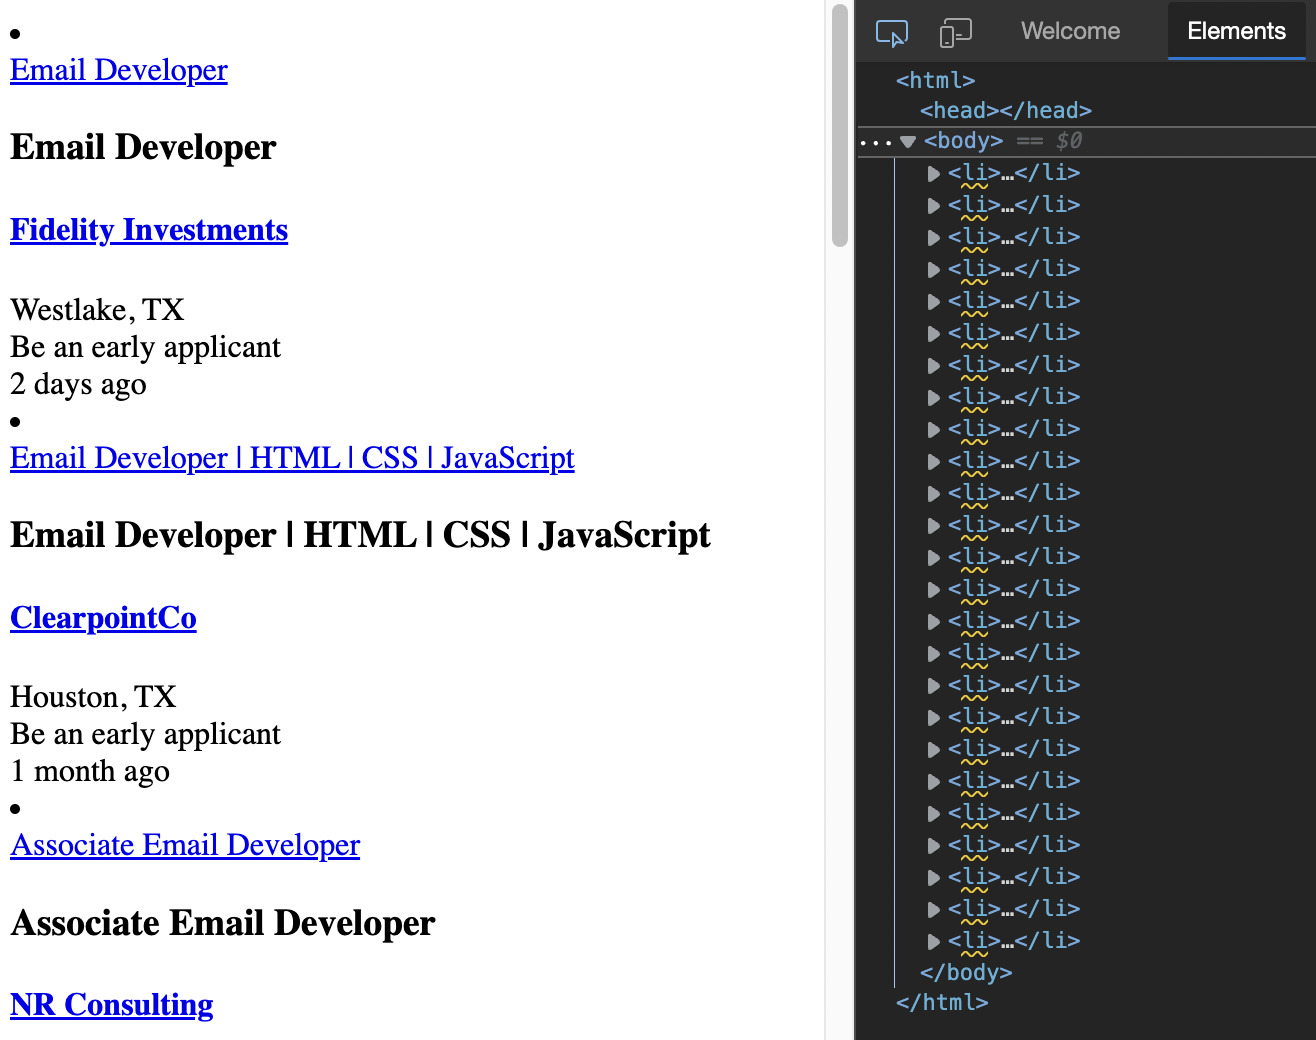
Awesome, this page is using the same structure, so there shouldn’t be any issues to scrape the data. But let’s take our experimentation a little further. This URL has the data for the second page but we want to access the first too.
Let’s compare URL 1 against URL 2 to see how they change:
- URL 1:
https://it.linkedin.com/jobs/search?keywords=email%20developer&location=United%20States&geoId=103644278&trk=public_jobs_jobs-search-bar_search-submit&position=1&pageNum=0 - URL 2:
https://it.linkedin.com/jobs-guest/jobs/api/seeMoreJobPostings/search?keywords=email%20developer&location=United%20States&geoId=103644278&trk=public_jobs_jobs-search-bar_search-submit&position=1&pageNum=0&start=25
There’s a lot going on in those URL. However, what we care about the most is the end bit of it, let’s try URL 2 but with the parameter start=0 on our browser to see if we can access the data.

That did the trick! The first job on both pages is the same.
Experimenting is crucial for web scraping, so here are a few more things we tried before settling for this solution:
- Changing the
pageNumparameter doesn’t change anything on the page. - The
startparameter increases by 25 for every new URL. We found this out by scrolling down the page and comparing the fetch requests sent by the site itself. - Changing the
startparameter by 1 (sostart=2,start=3, and so on) will change the resulting page by hiding the previous job listings out of the page – which is not what we want. - The current last page is
start=975. It goes to a 404 page when hitting 1000.
Having our initial URL, we can move to the next step.
4. Parse LinkedIn Using Axios and Cheerio
We’ll change a little bit our initial URL to access the US version of the site.
</p>
const axios = require('axios');
const cheerio = require('cheerio');
const { html } = require('cheerio/lib/static');
let url = 'https://www.linkedin.com/jobs-guest/jobs/api/seeMoreJobPostings/search?keywords=email%2Bdeveloper&location=United%2BStates&geoId=103644278&trk=public_jobs_jobs-search-bar_search-submit¤tJobId=2931031787&position=1&pageNum=0&start=0'
axios(url)
.then (response => {
const html = response.data;
console.log(html)
})
<p>To check if our Axios request is working, we’ll console.log() our html variable.
Awesome, we were able to download the raw HTML, and we can now pass it to Cheerio for parsing. Replace the console.log() method with the next snippet to create a Cheerio object we can then query to extract our target data.
</p>
const $ = cheerio.load(html);
<p>
5. Pick Your Selectors
Cheerio uses a JQuery implementation to select elements, so if you’re already familiar with JQuery’s syntax, you’ll find yourself right at home.
To pick the right selectors, let’s go back to the opened URL and take note of the attributes we can use. We already know that all the data we need is inside of individual <li> elements, so let’s target that first and store it into a constant.
</p>
const jobs = $('li');
<p>
With all the listings stored inside jobs, we can now go one by one and extract the specific bits of data we’re looking for. We can test our selectors right inside the DevTools to avoid sending unnecessary requests to the server.
If we inspect the job title, we can see that it is inside of an <h3> element with the class base-search-card__title.

Let’s go to the Console tab inside DevTools and use the document.querySelectorAll() method and pass it ‘.base-search-card__title’ – where dot means class – as the argument, to select all the elements with that class.

It returns a NodeList of 25, which matches the number of jobs on the page. We can do the same thing for the rest of our targets. Here are our targets:
- Job title: ‘h3.base-search-card__title’
- Company: ‘h4.base-search-card__subtitle’
- Location: ‘span.job-search-card__location’
- URL: ‘a.base-card__full-link’
6. Iterate Through the Node List Using .each()
With our selectors defined, we can now iterate through the list stored in the jobs variable to extract all job details using the .each() method.
</p>
jobs.each((index, element) => {
const jobTitle = $(element).find('h3.base-search-card__title').text()
console.log(jobTitle)
})

<p>
We bet you’ve realized how important it is for us to test everything, so before trying to grab every element, we’ll begin by extracting just the job title and logging it into our console. Type
node index.js in the terminal to run it.
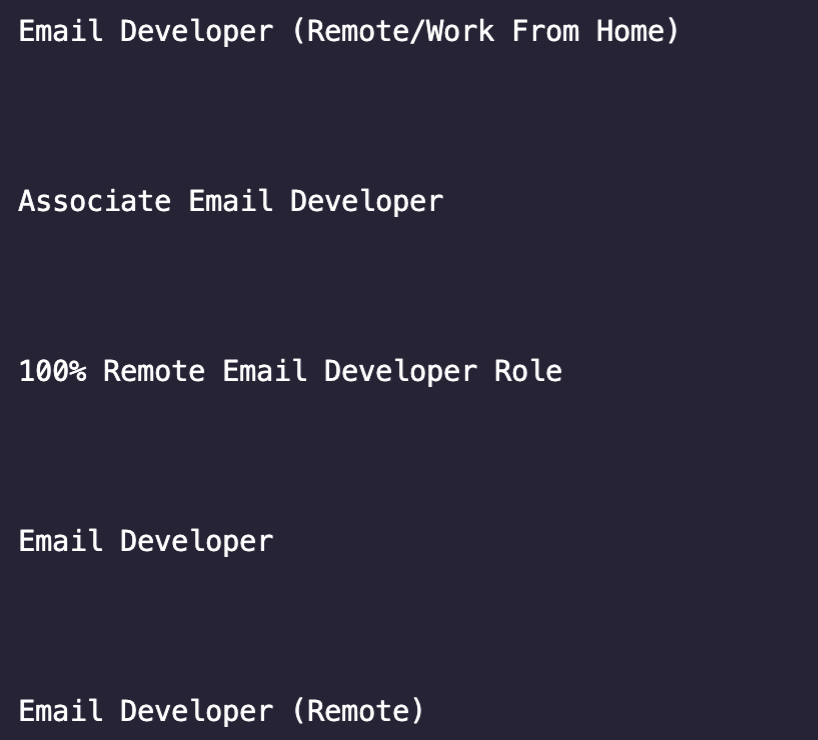
Huh… it seems like there’s a lot of white space around the title and it’s also getting extracted by our .text() method. Not to worry, we can use the .trim() method to clean it up.
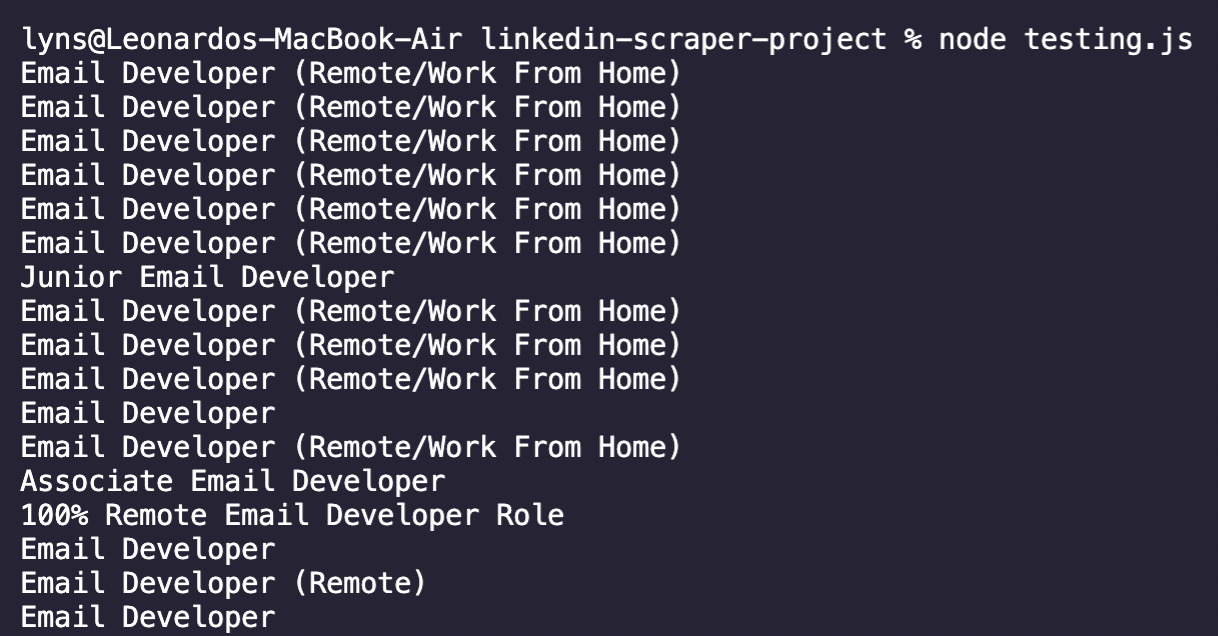
Much better! Now we know it’s safe to add the rest of the selectors into our script.
</p>
const company = $(element).find('h4.base-search-card__subtitle').text().trim()
const location = $(element).find('span.job-search-card__location').text().trim()
const link = $(element).find('a.base-card__full-link').attr('href')

<p>
For the job’s link, we’re not actually interested in grabbing the text inside the element but the value of the
href attribute – in other words, the URL itself. To do so, we can just call the .attr() method and pass it the attribute we want the value from as the argument.
7. Push Your Data Into an Array for Formatting
Right now, our script will log into our console a lot of unorganized strings that will make really hard for us to use it. The good news is that we can use a simple method to push our data into an empty array and have everything neatly formatted automatically.
First, we’ll create an empty array before Axios called linkedinJobs:
</p>
linkedinJobs = [];
<p>
Them, we’ll add the following code snippet right after const link:
</p>
 linkedinJobs.push({
'Title': jobTitle,
'Company': company,
'Location': location,
'Link': link,
})

<p>
And log linkedinJobs to the console.
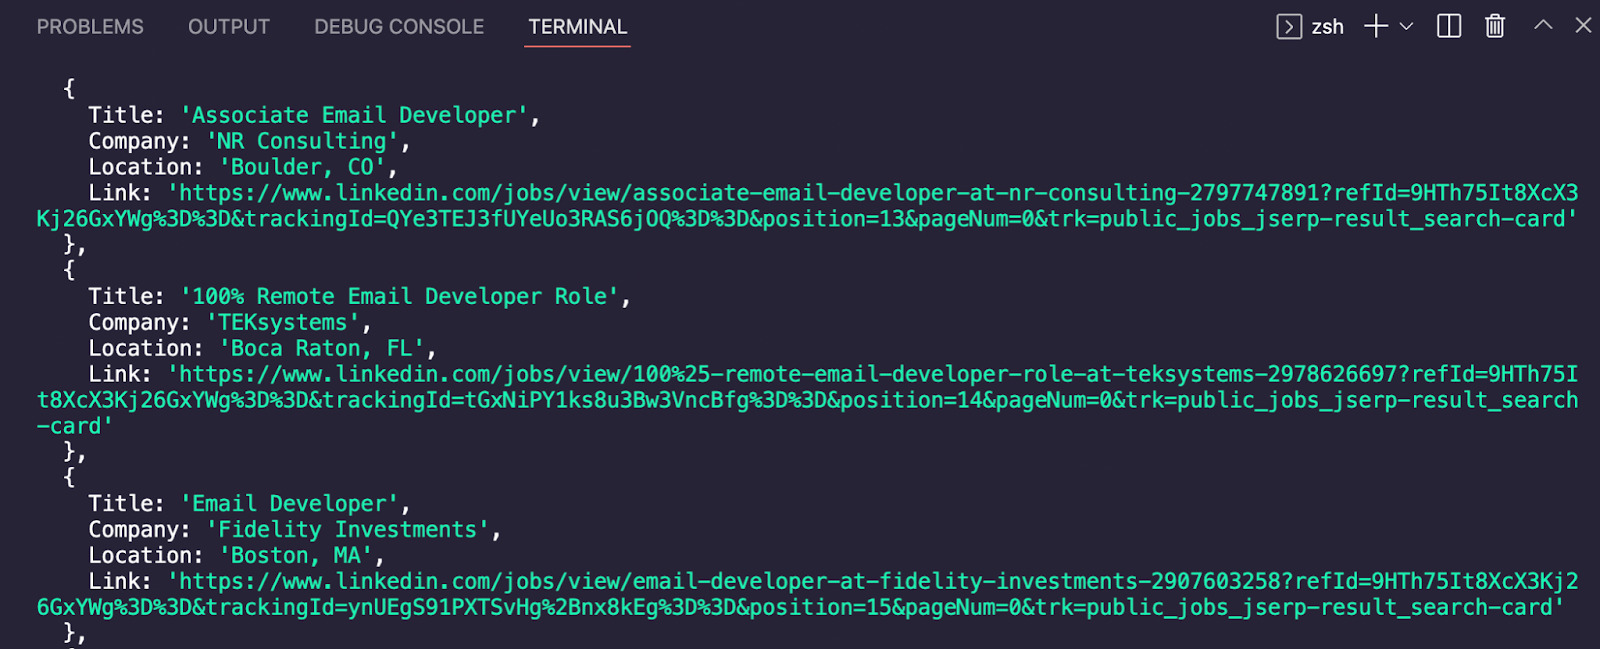
How does it look now? All our data is perfectly labeled and formatted, ready for us to export it into a JSON or CSV file.
Still, this is not all the data we want. Our next step is to navigate to the rest of the pages and repeat the same process.
8. Scraping All Pages with a for loop
There are many ways to navigate to the next page, but with our current knowledge of the website, the easiest way would be to increase the start parameter in the URL by 25 to display the next 25 jobs until there are no more results and a for loop meets this functionality perfectly.
To refresh your memory, here’s the for loop’s syntax:
</p>
for (statement 1; statement 2; statement 3) {
//code block to be executed
}

<p>
Let’s build this part first by adding our custom statements:
</p>
for (let pageNumber = 0; pageNumber < 1000; pageNumber += 25) {

}

<p>- Our starting point will be 0 as that’s the first value we want to pass to the
startparameter. - Because we know that when hitting 1000 there won’t be any more results, we want the code to run as long as
pageNumberis less than 1000. - Finally, after every iteration of the code, we want to increase
pageNumberby 25, effectively moving to the next page.
Before moving the rest of the code inside the loop, we’ll need to add our pageNumber variable into the URL:
</p>
let url = `https://www.linkedin.com/jobs-guest/jobs/api/seeMoreJobPostings/search?keywords=email%2Bdeveloper&location=United%2BStates&geoId=103644278&trk=public_jobs_jobs-search-bar_search-submit¤tJobId=2931031787&position=1&pageNum=0&start=${pageNumber}`
<p>And now we add the rest of our code to the loop, now using the pageNumber variable as the value for the
start parameter.
9. Write Your Data to a CSV File
It has been a long process but we’re almost done with our scraper. Yet, having all that data log to our console isn’t exactly the best way to store it.
To cut corners, we’ll be using the Objects-to-CSV package. They have really detailed documentation if you’d like to go deeper into the package but, in simple terms, it will convert our array of JavaScript objects (linkedinJobs) into a CSV format we can save to our machine.
First, we’ll install the package using npm install objects-to-csv and add it to the top of our project.
</p>
const ObjectsToCsv = require('objects-to-csv');
<p>
We can now add use the package right after closing our job.each() method:
</p>
 const csv = new ObjectsToCsv(linkedinJobs)
csv.toDisk('./linkedInJobs.csv', { append: true })
<p>
“The keys in the first object of the array will be used as column names” so it’s important that we make them descriptive when using the
.push() method.
Also, because we want to loop through several pages, we don’t want our CSV to be overwritten every time but to add the new data below. To do so, all we need to do is set append to true. It will only add the headers once and keep updating the file with the new data.
10. Run Your Code [Full LinkedIn Scraper Code]
If you’ve followed along, here’s what your finished code should look like:
</p>
const axios = require('axios');
const cheerio = require('cheerio');
const ObjectsToCsv = require('objects-to-csv');
linkedinJobs = [];
for (let pageNumber = 0; pageNumber < 1000; pageNumber += 25) {
let url = `https://www.linkedin.com/jobs-guest/jobs/api/seeMoreJobPostings/search?keywords=email%2Bdeveloper&location=United%2BStates&geoId=103644278&trk=public_jobs_jobs-search-bar_search-submit¤tJobId=2931031787&position=1&pageNum=0&start=${pageNumber}`;
axios(url)
.then (response => {
const html = response.data;
const $ = cheerio.load(html);
const jobs = $('li')
jobs.each((index, element) => {
const jobTitle = $(element).find('h3.base-search-card__title').text().trim()
const company = $(element).find('h4.base-search-card__subtitle').text().trim()
const location = $(element).find('span.job-search-card__location').text().trim()
const link = $(element).find('a.base-card__full-link').attr('href')
linkedinJobs.push({
'Title': jobTitle,
'Company': company,
'Location': location,
'Link': link,
})
});
const csv = new ObjectsToCsv(linkedinJobs)
csv.toDisk('./linkedInJobs.csv', { append: true })
})
.catch(console.error);
}
<p>To run it, go to your terminal and type node
index.js (or the name of your file):
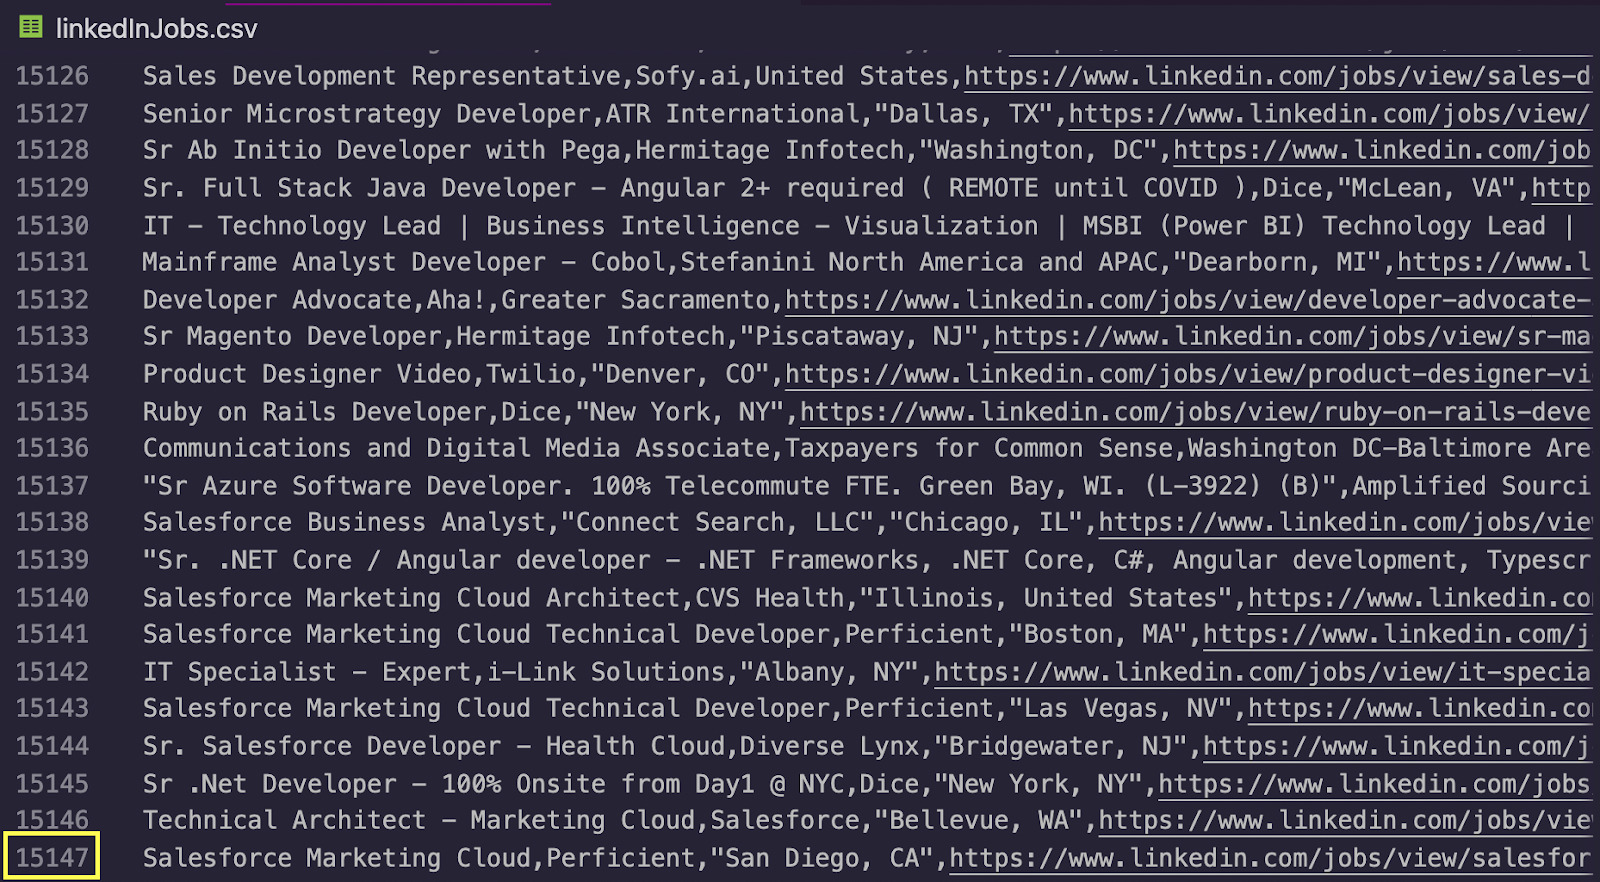
Congratulations, over 15k job listings scraped in a few seconds. For next steps, export this data to excel and filter the column Title for only those containing the keyword “email developer” or by location.
Wrapping Up: Here’s a Challenge for You
We’ve covered a lot during this tutorial, but there are a few more things we challenge you to try:
- Make the script filtered jobs by title, so you only extract those cards containing the keyword “email developer” or “html email”.
- Right now the script is going through the pages too fast. Add a buffer between requests so it only sends a new request after 5 seconds, it will help you protect your IP.
Send us your finished code to our Twitter or LinkedIn and we’ll share your solution on our social media and feature you in our next post.
Until then, happy scraping!