

ScraperAPI is a reliable tool that handles proxies, browsers, and CAPTCHAs while scraping web pages. This guide shows you how to integrate ScraperAPI with Playwright using the most reliable and easy-to-test method.
Getting Started
Before integrating ScraperAPI, here’s a typical Playwright request:
const { chromium } = require('playwright');

(async () => {
 const browser = await chromium.launch();
 const page = await (await browser.newContext()).newPage();

 await page.goto('https://httpbin.org/ip');
 const content = await page.textContent('body');
 console.log(content);

 await browser.close();
})();
The code above opens a browser, navigates to the page, and logs the response. But it doesn’t block IPs or handle captchas and geo-targeting. That’s where ScraperAPI comes in.
Integration Methods
Recommended: API Endpoint Method
The most reliable and straightforward way to use ScraperAPI with Playwright is to send a request directly to the ScraperAPI endpoint. This method ensures proper authentication and handles JavaScript rendering as well as proxy management effectively.
Requirements
- Node.js v18 or later
playwrightdotenv
Set up
Initialize a Node.js project:
npm init -y
Then install the dependencies:
npm install playwright dotenv
Install npm if you don’t have it yet, too:
# For Ubuntu
sudo apt update
sudo apt install nodejs npm

 # For macOS (includes npm)
brew install node

 # For Windows
 # Download and install Node.js (which includes npm) from the official website (https://nodejs.org/en/download/) and follow the installer steps.
.env File
Create an .env file in your project folder and place your ScraperAPI key in there. If you don’t have one, you can get it by creating an account.
SCRAPERAPI_KEY=your_api_key_here
Make sure there are no quotes around the key!
Your script
In a file scraperapi-playwright.js, paste the following:
const { chromium } = require('playwright');
require('dotenv').config();

const SCRAPERAPI_KEY = process.env.SCRAPERAPI_KEY;
const targetUrl = 'http://httpbin.org/ip';
const scraperApiUrl = `http://api.scraperapi.com?api_key=${SCRAPERAPI_KEY}&url=${encodeURIComponent(targetUrl)}`;

(async () => {
 const browser = await chromium.launch();
 const context = await browser.newContext();
 const page = await context.newPage();

 await page.goto(scraperApiUrl, { waitUntil: 'domcontentloaded' });

 const content = await page.textContent('body');
 console.log('IP Details:', content);

 await browser.close();
})();
The code above loads your API key from a .env file. It builds a ScraperAPI URL that wraps the target site (http://httpbin.org/ip). Then it launches a Chromium browser with Playwright, opens a new page, visits the ScraperAPI URL, and prints the IP address it receives.
Optional Parameters
ScraperAPI lets you pass additional options via query params:
render=true– Enable JavaScript renderingcountry_code=us– Use a US-based IPsession_number=123– Stick to a proxy sessionpremium=true– Use premium proxies
Example:
const scraperApiUrl = `http://api.scraperapi.com?api_key=${SCRAPERAPI_KEY}&render=true&country_code=us&url=${encodeURIComponent(targetUrl)}`;
Not Recommended: Proxy Mode
You might be tempted to use ScraperAPI’s proxy port (proxy-server.scraperapi.com:8001) directly in Playwright’s launch() options. However, this method fails because Playwright doesn’t support query string authentication in proxy URLs.
Why It Fails
- ScraperAPI requires the API key to be passed as a query parameter.
- Playwright’s proxy configuration expects Basic Auth or IP auth, not query strings.
Error Output:
IP Details: Proxy Authentication Required
Best Practices
- Always store your API key in an environment variable using .env
- Use
render=truewhen you intend to target JS-heavy sites - Avoid Playwright proxy settings when using ScraperAPI
- Respect rate limits and concurrency
Run the Code:
After saving your script as scraperapi-playwright.js, then run it:
node scraperapi-playwright.js
If everything works, your terminal will show your IP address like this:
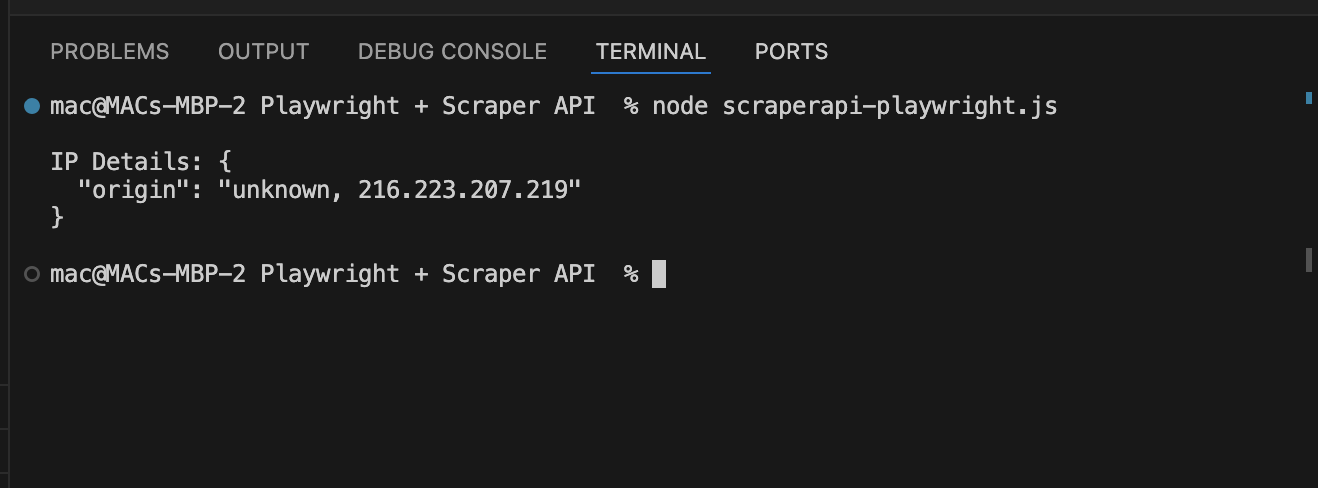
This confirms that ScraperAPI is handling the request.
For more information, you can check this guide

